Catapult Testnet Run for Noobs:
This process worked for me, i hope it can help! For this tutorial you will need a Ubuntu 18.04 Installer.
Please before you start watch the very boring video, it displays the complete process. I think it will help. Keep in mind that i am new to this and to Linux.
Hardware requirements
Catapult nodes have been tested on computers with the following minimum requirements .
-
CPU : 2 cores or more
(4th gen intel CPUs wont work. Fix is probably on the way. I don’t know about 5th and 6th gen or any AMD CPUs. All i can tell is that every Intel from 7th gen up will work) -
Memory : 4GB or more
-
HD : 20GB or more
-
OS : Linux or Mac / Ubuntu 18.04 Bionic was used for this Tutorial.
Install Ubuntu alongside your main OS. After every reboot you now can chose between the operating systems.
Get all updates and restart. Open web browser and open links provided underneath. Or copy paste the commands in the tutorial.
Note: The section in the video where you edit files in the bootstrap folder, is not required anymore
Docker Installation:
Docker Compose Installation:
Catapult Testnet Bootstrap:
Now start your terminal with Ctrl+Alt+T and run the commands :
First, update your existing list of packages:
sudo apt update
Next, install a few prerequisite packages which let apt use packages over HTTPS:
sudo apt install apt-transport-https ca-certificates curl software-properties-common
Then add the GPG key for the official Docker repository to your system:
curl -fsSL https://download.docker.com/linux/ubuntu/gpg | sudo apt-key add -
Add the Docker repository to APT sources:
sudo add-apt-repository "deb [arch=amd64] https://download.docker.com/linux/ubuntu bionic stable"
Next, update the package database with the Docker packages from the newly added repo:
sudo apt update
Make sure you are about to install from the Docker repo instead of the default Ubuntu repo:
apt-cache policy docker-ce
You’ll see output like this, although the version number for Docker may be different:
Output of apt-cache policy docker-ce
docker-ce:
  Installed: (none)
  Candidate: 18.03.1~ce~3-0~ubuntu
  Version table:
     18.03.1~ce~3-0~ubuntu 500
        500 https://download.docker.com/linux/ubuntu bionic/stable amd64 Packages
Notice that docker-ce is not installed, but the candidate for installation is from the Docker repository for Ubuntu 18.04 ( bionic ).
Finally, install Docker:
sudo apt install docker-ce
Docker should now be installed, the daemon started, and the process enabled to start on boot. Check that it’s running:
sudo systemctl status docker
Now open a second tab in terminal and install docker-compose by running:
We’ll check the current release and if necessary, update it in the command below:
sudo curl -L https://github.com/docker/compose/releases/download/1.21.2/docker-compose-`uname -s`-`uname -m` -o /usr/local/bin/docker-compose
Next we’ll set the permissions:
sudo chmod +x /usr/local/bin/docker-compose
Then we’ll verify that the installation was successful by checking the version:
docker-compose --version
This will print out the version we installed:
Outputdocker-compose version 1.21.2, build a133471
Now run:
- Download the the latest release of the package, or clone the repository directly using Git.
New Updated Line 28.01.20
git clone https://github.com/nemfoundation/symbol-testnet-bootstrap.git
- Choose the assembly distribution you want to install.
In short, if you want to be able to interact with your node, you need to run the API assembly. On the other hand, if you want a node dedicated exclusively confirm transactions, deploy the peer assembly.
cd symbol-testnet-bootstrap/api-harvest-assembly
or…
cd symbol-testnet-bootstrap/peer-assembly
- Run the node with docker-compose .
sudo docker-compose up --build --detach
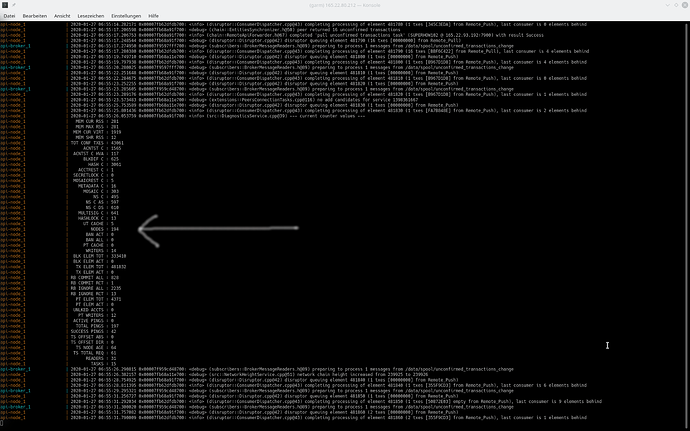
You should see docker downloading the container images for the first time, then it should run the setup and finally startup the service.
If you have installed the api-harvest-assembly distribution, you can verify as well that the node is running by opening a new browser tab with the following URL: localhost:3000/chain/height
Your Node should be running and syncing.


 good to know I m not the only one.