Simple and cheap way to run a testnet node

Hello! Surely many people would like to run the NEM Catapult Testnet Node. But it seems the following reasons that prevent this from happening:

  • You don’t understand how to do it;
  • You don’t have the hardware;
  • It doesn’t look effortless, and you think that you can’t do it.

Therefore, I did a simple and clear guide, which will help you run node using the minimum cost ( from 2.96 euros per month). All you need to do is copy and paste text (easy enough, yes?). The guide has two stages, with text and video descriptions. The process will take a maximum of 10 minutes , and you’ll get your node, which works on Centos 7 .

So, you will make the following steps:

  • Find a server for the run node;
  • Run some commands.

If you doubt or you’re too lazy to read it, please watch a video guide. It’s swift and straightforward!

If you need help, ask me. I’ll try to help.

12 Likes

How to find a server for node

Minimal requirements to hardware

As was written in the guide, Catapult nodes have the following minimum requirements:

  • CPU: 2 cores or more
  • Memory: 4GB or more
  • HD: 20GB or more
  • OS: Linux or Mac

(!) But we might be able to run the software in less powerful instances. It’s an important thing, and we keep this in mind.

I suggest you use the cloud and deploy the node there. I found an excellent and cheap service with payment for use (hetzner.com). I used hetzner.com in this guide, but you can use any other service (for example, digitalocean.com). The main thing is: install Centos 7 on your server, and you will succeed.

Please note! You can use even the cheapest server (yes, on CX11 everything works fine), but better to use the CX21 because it meets the minimum requirements from the developers (4GB RAM and two cores).
Later you can increase parameters of the server and not overpay because you pay at the hourly rate.

What you should do:

  1. Register on https://hetzner.com.
  2. Order server in the cloud:
    2.1. Open Console (https://console.hetzner.cloud/projects)
    2.2. Create a project (whatever what name it will be);
    2.3. Click “Add Server”;
    2.4. Select server location that do You like, OS – Centos 7 (it’s necessarily);
    2.5. Click “Create & Buy Now”.

After several seconds you receive the e-mail with server credentials. What you should do with it - read in the next post.

Video guide - How to create a server on Hetzner:

11 Likes

How to run a testnet node on a server with Centos 7

So, you received server credentials, and we will configure it now.

You should do the following things:

  1. Download Putty to connect to the server via ssh protocol.

  2. Open Putty, copy your server IP address to the hostname input field.

  3. Enter server login, that you already received (root);

  4. Now you should enter the password. You can copy and paste it. To paste text from the clipboard – press the right mouse button.

    Please note! When you enter a password, nothing is displayed on the screen. This is normal, don’t worry.

  5. The server may ask you to set a new password. Do it.

  6. Run the following commands:

    yum install epel-release
    yum install docker docker-compose git nano
    systemctl start docker
    git clone https://github.com/nemfoundation/symbol-testnet-bootstrap.git
    cd symbol-testnet-bootstrap/api-harvest-assembly

  7. This step optimizes disk table usage. It is not required, but recommend for servers with small drive. Run the following command:

    sed -i "s/enableDispatcherInputAuditing = true/enableDispatcherInputAuditing = false/g" api-node/userconfig/resources/config-node.properties.template

  8. Run following command, that starts Catapult on your server:

    docker-compose up --build -d

  9. This step is not required, but if you want to specify a friendly name for the node, then run following commands:

    docker-compose down
    nano api-node/config-input.yaml
    docker-compose up --build -d

    When the nano editor opens, change the value of the friendlyName field to your own.
    Please note! Press Ctrl+X to exit from nano.

  10. How do I check that the node is working correctly?
    Open in a browser http://NODE_IP:3000/chain/height (replace NODE_IP to IP of your server), and make sure that the node is synchronizing (the height will increase).

It’s all!

Video guide - How to run a testnet node:

12 Likes

How to update Symbol bootstrap tool to latest version

Please note! If you set up your node recently, then you have the latest version of Symbol bootstrap tool.

Check here when was a lastest update.

For update you should run:

  1. Connect to your server.

  2. Run the following commands:

    cd symbol-testnet-bootstrap/api-harvest-assembly
    docker-compose down
    ./reset-to-nemesis.sh
    rm data/api-node/00000/hashes.dat
    cd ../
    git pull
    docker system prune -a
    cd api-harvest-assembly
    docker-compose up -d

  3. Check that your node is working: open in browser http://SERVER_IP:3000/chain/height (replace SERVER_IP to your server IP).

2 Likes

Hi Anton,
thx for sharing this guide. I tried it and the setup was very easy.

I do not see my node in catapult/symbol testnet explorer:
http://explorer.nemtech.network/nodes
There are nodes named “RXAnton/Ubuntu” and another one named “Anton M” which are probably yours.
Shouldn’t I also see my node there?

Second question, if I quit the ssh connection (I connecting to my server via bash in Ubuntu); will the testnode still be running? I guess he should as we added the detach option to docker-compose, but am I right?

Thank you for short answer…!

OK I have seen that I have used the wrong explorer, the correct one seems to be
http://explorer-xym.nemtech.network/nodes

Still it does not show up my node. But I remember some other NEMbers talking about issues with the node list page of that explorer, so I will check again tomorrow.

@Ukr_Raider

Hi!

  1. It is no way to see a list of all nodes yet. Each node connects to a part of network peers, not to all. Explorer connects to one of api-nodes and displays peers that connected to it. In the footer, you can change api-node to others, but this function not works yet (I already reported about this bug). When the bug fixes, you will see your node in the peer list of one of api-node. Over time, the list of nodes changes and your node may also be displayed on default api-node.
    In my opinion, currently, the best way to check your node status is open http://YOUR_NODE_IP:3000/chain/height (replace YOUR_NODE_IP to IP of your server, e.g. http://127.0.0.1:3000/chain/height) and check chain height. You also can open http://YOUR_NODE_IP:3000/node/peers and check peers that connected to your node. After that, you can copy the host of one node and open http://HOST_NODE_IP:3000/chain/height (replace HOST_NODE_IP to host from your peer list), if you found your node in the list all works fine.
  2. Yes, these nodes are mine.
  3. You are right. The node still is running because we added detach (-d) option.
1 Like

Hi @RXAnton - thanks for the tutorial.
I played around with the above tutorial a bit. Am not a big CentOS fan, but tried it anyway. Ran into “permission denied” errors.
I know it’s perhaps an easy thing for CentOS people to solve, but I decided to kill the VPS instance and do it on Ubuntu 18.04 LTS instead.

That’s my result: http://symbol-testnet.luxtag.io:3000/node/info


Below my UBUNTU step-by-step tutorial

I chose Bithost.io for the VPS and took the US$14/month option. (Can pay using BTC)

Choose Ubuntu 18.04 LTS

Connect to your node via your preferred bash terminal to the VPS using [Your_public_ip] as “root” user

e.g.

ssh root@[Your_public_ip]

curl -fsSL get.docker.com -o get-docker.sh

sh get-docker.sh

curl -L "https://github.com/docker/compose/releases/download/1.25.3/docker-compose-$(uname -s)-$(uname -m)" -o /usr/local/bin/docker-compose

or another syntax (if above doesn’t work)

curl -L https://github.com/docker/compose/releases/download/1.25.3/docker-compose-`uname -s`-`uname -m` -o /usr/local/bin/docker-compose

(following https://docs.docker.com/compose/install/ instruction for Linux )

chmod +x /usr/local/bin/docker-compose

apt-get install git

systemctl start docker

git clone https://github.com/nemfoundation/symbol-testnet-bootstrap.git

cd symbol-testnet-bootstrap/api-harvest-assembly

docker-compose up --build

(wait until you see it connecting to peers in the on-screen log view)

Ctrl-C

to shut down all node docker containers

nano api-node/config-input.yaml

[edit our FriendlyName]

Ctrl-X, Y

rm ~/symbol-testnet-bootstrap/api-harvest-assembly/data/api-node/server.lock
rm ~/symbol-testnet-bootstrap/api-harvest-assembly/data/api-node/broker.lock

docker-compose up --build -d

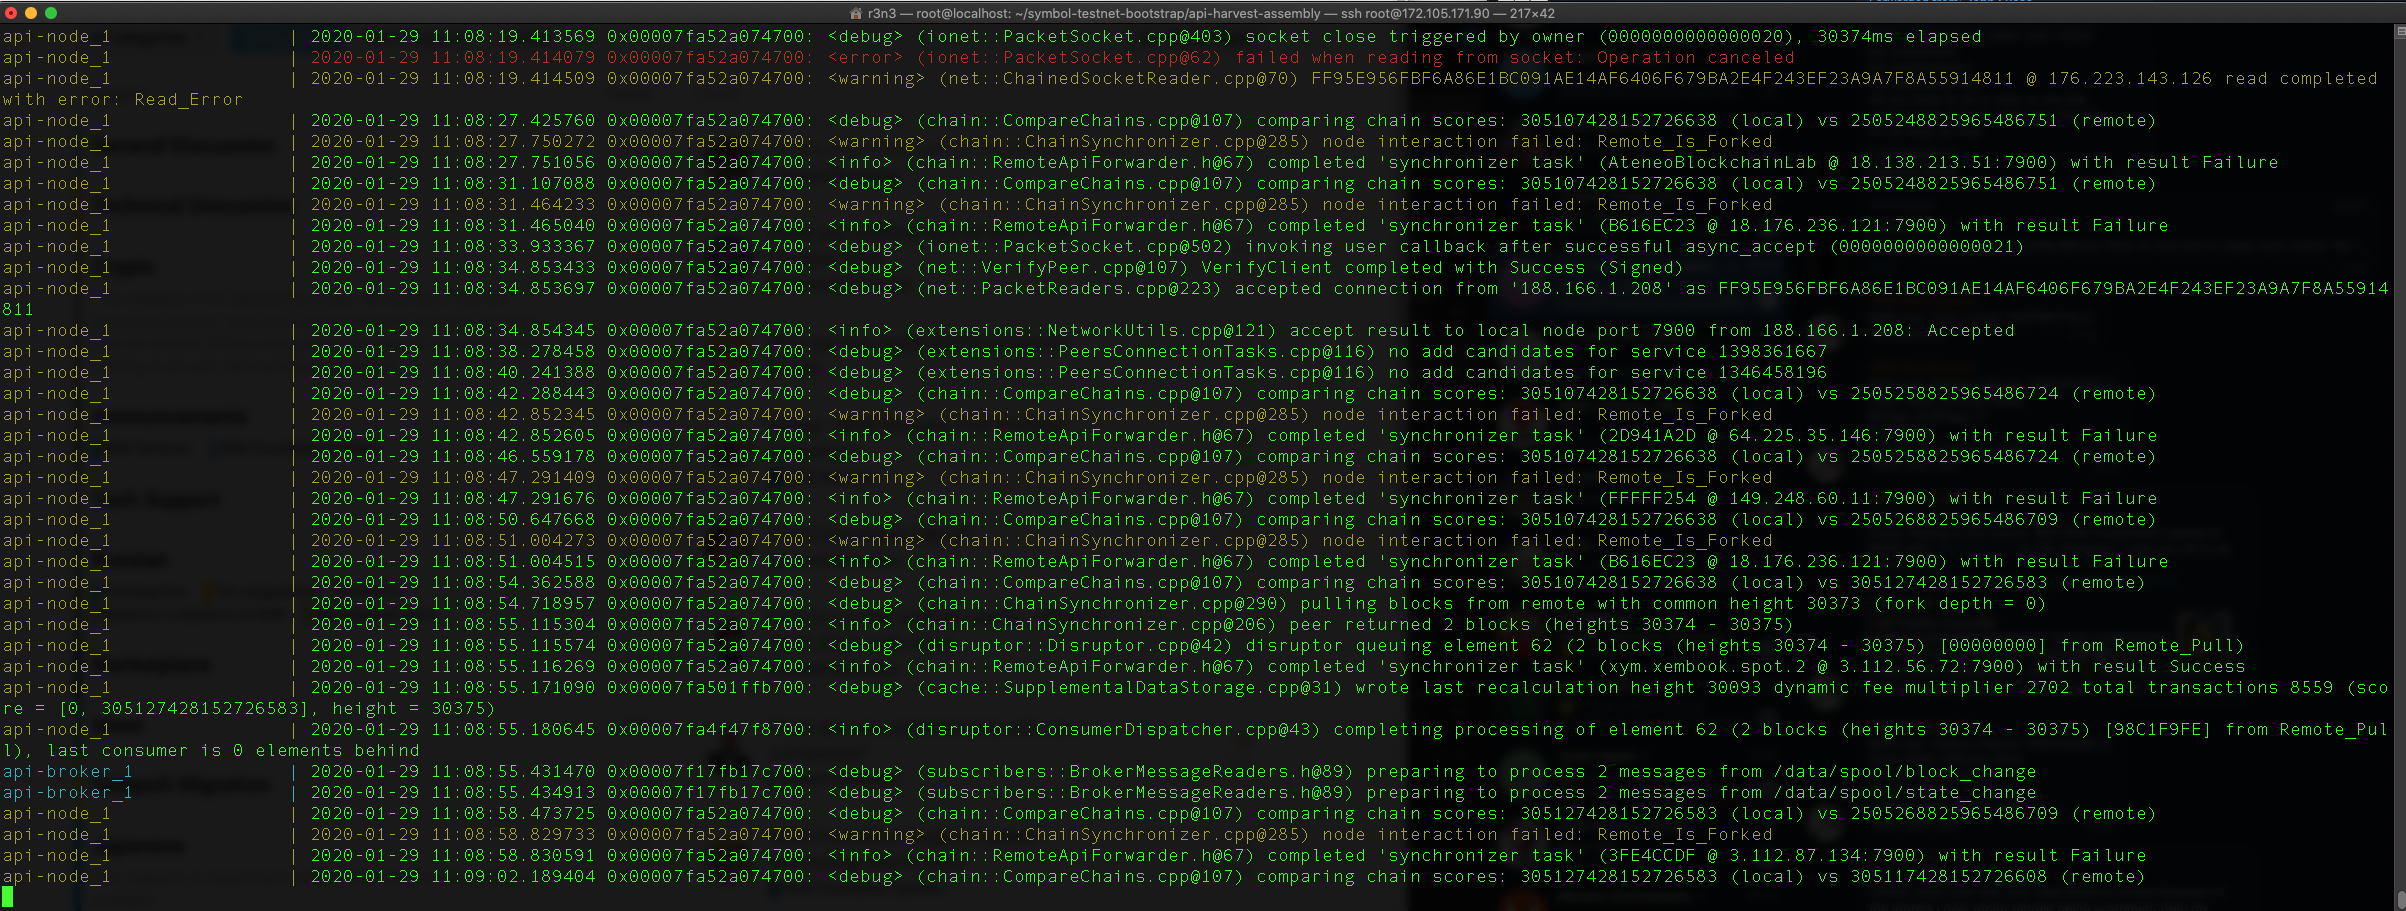
docker-compose logs -f

Log view, flowing.
You can stop the Log view with

Ctrl-C

this does not stop the node.

In your local web-browser, do:

http://[Your_public_ip]:3000/node/info

See your node info incl. your friendly name.

http://[Your_public_ip]:3000/diagnostic/storage

(NumBlocks = Your chain height)

exit

It is safe to “exit” and disconnect from the VPS and the Symbol node will keep running.


Additional notes:

  1. If you want to set a FQDN domain name (Like i did), you can do that in the api-node/userconfig/resources/config-node.properties file, in the “host =” field. You then need to comment out the Update_Vars section in the docker-compose.yaml file, else every re-start using docker-compose up would overwrite your host variable.
    Of course you need to map the FQDN to the VPS’ IP address, but I guess that’s a no-brainer.

  2. You can use docker-compose down to take down the node


Greetings from Rene, LuxTag.io


The “logs -f” view looks like this then:

6 Likes

Hi Anton, thx for helping and answering! I have switched to updated version of testnet today, still the explorer does not work. But the height is synchronizing when I navigate to …:3000. So everything OK :slight_smile:

2 Likes

Hi! The latest version of the explorer is http://explorer-xym.nemtech.network.

UPD1: As I see nodes list is constant. Full nodes list available on https://nem2-node-explorer.firebaseapp.com. Please check it. :wink:
UPD2: Alternative service with nodes list: https://tools48gh23s.z31.web.core.windows.net/peers-graph/peers.html

1 Like

Guide updated. :partying_face:

4 Likes

Today developers have pushed a new release of the test network bootstrap tool.

Read here how to update your bootstrap tool to latest.

1 Like

1 hour ago was released a new version of the Symbol bootstrap tool. Please update it on your node.

Read here how to update your bootstrap tool to latest.

1 Like

Done. Very easy with the guide. It’s done in less then 5 minutes and almost a routine already :wink:

3 Likes

This topic was automatically closed 60 days after the last reply. New replies are no longer allowed.

Please don’t post in multiple places same question!
Already moved it here Docker compose problem - #2 by CryptoBeliever