
read
If you run a NEM node (NIS) with either your home computer or a free Amazon t2.micro Linux VPS or a free Amazon t2.micro Windows VPS, you can connect to it remotely from anywhere as long as you know the IP address.
If you don't want to run your own server, take a look at the list of public NEM node IPs here.
Note: The Node Explorer has an option to sort nodes by country so that you can easily find a node that is close to your location, which results in a faster connection.
The benefits of connecting to a remote server are 1) you can make that server harvest for your account once you have enabled delegated harvesting, and 2) you don't have to synchronize the block chain on your local computer to use the NEM wallet, which reduces the preparation time on a new computer to just a few minutes.
Steps1) You will need to run NCC. Download here if you didn't install it yet (Java 8 is needed). 2) Once NCC is running, go to the landing page in your browser:

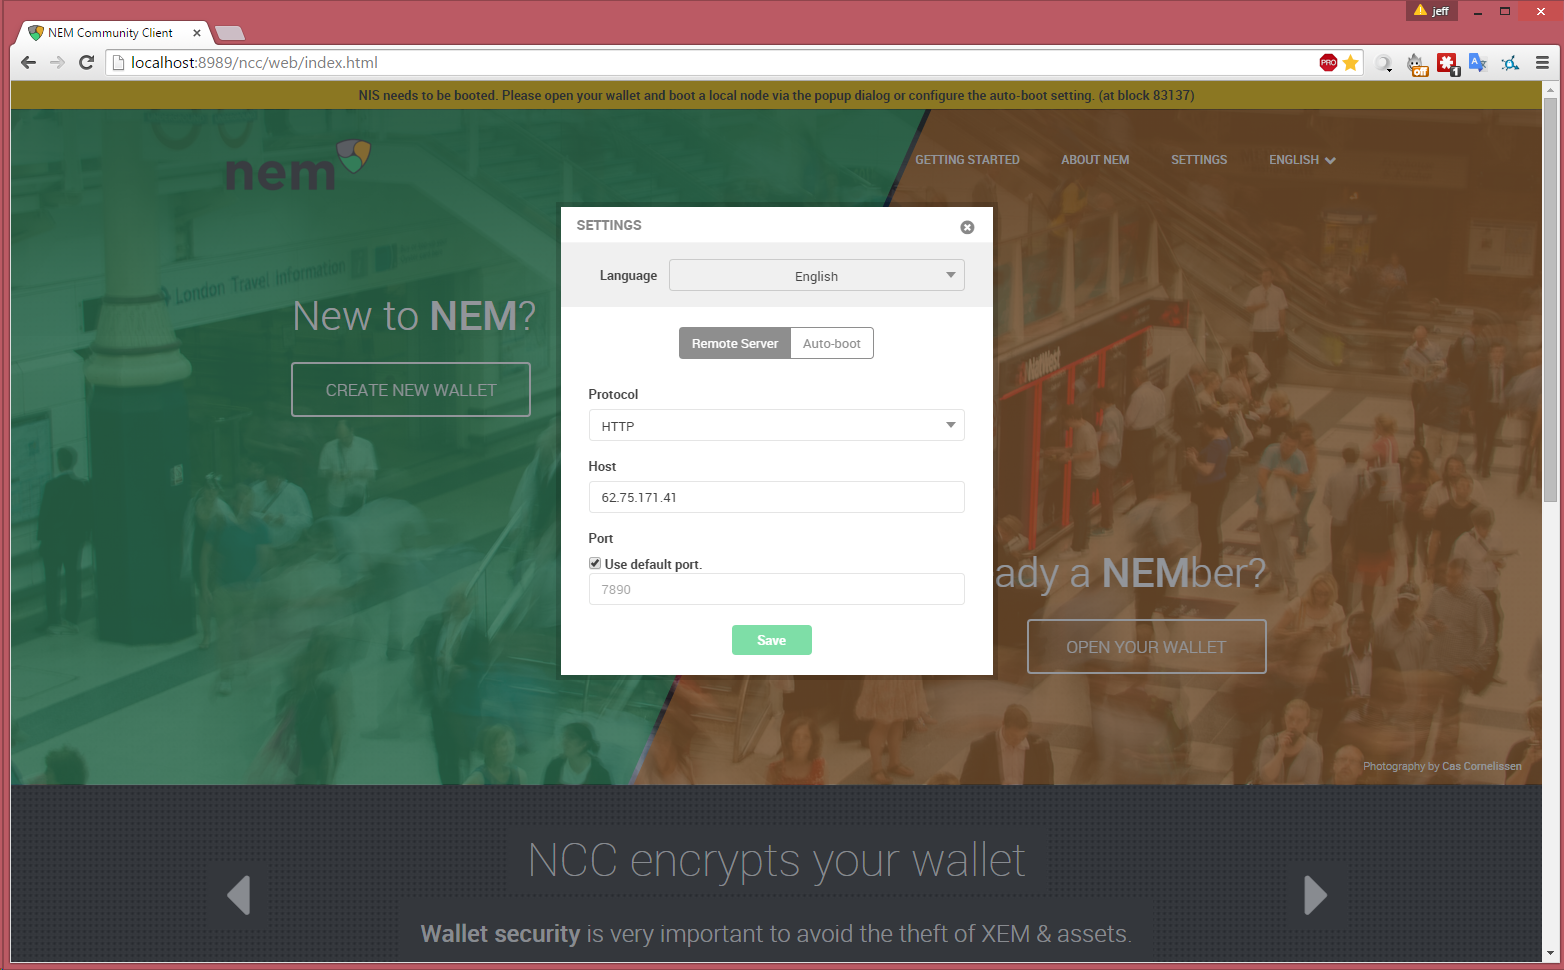
4) Click Settings in the upper right corner:
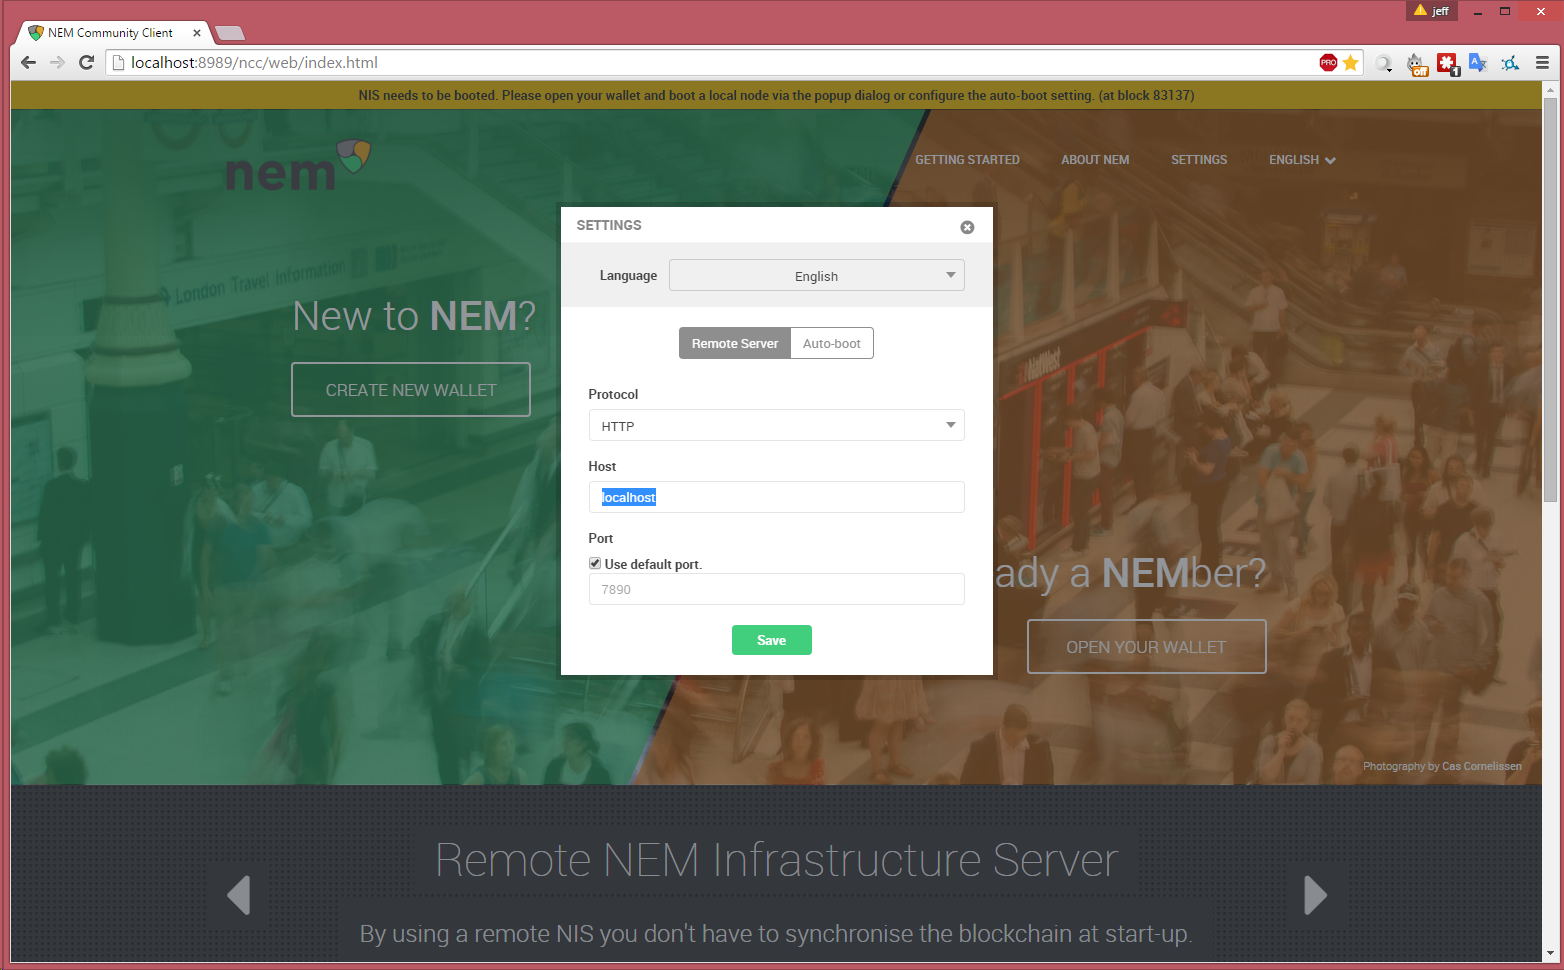
5) In the box labeled Host, replace “local host” with the IP address that you have obtained by running a node yourself, or an IP you have found on Node Explorer. Then press save.
6) You should now see a green status bar at the top of your screen. This indicates that your NEM client is connected to a fully synchronized NEM node (NIS) and you are good to go!

If this is the first time for you to use NEM on that computer, you will need to either import your private key or recover a wallet you have backed up.
In conclusion, here is a little bonus tutorial material. It covers delegated harvesting which is useful after somebody has learned how to connect to remote servers.
Here is a community made video tutorial (thanks PunkRock).
Please give it a watch.
This is a companion discussion topic for the original entry at http://blog.nem.io/connecting-to-a-remote-server/