###Why running Supernode?
- Supernode is NEM’s high performance full node that secure the network and supports lightwallet, mobile wallet, and other 3rd party apps. For more information please see http://blog.nem.io/supernodes/
###Why run it in ctl.io?
- It has a runner that deploy NEM node with one click
- It has a USD500 free trial credit.
This guide assume you have activated delegated harvesting in your NCC. After the supernode is setup, you can setup remote host to point to the public ip of your supernode under settings in your NCC, then start delegated harvesting. If you have not activated delegated harvesting please take a look on this link
###Creating NEM node using ctl.io Runner
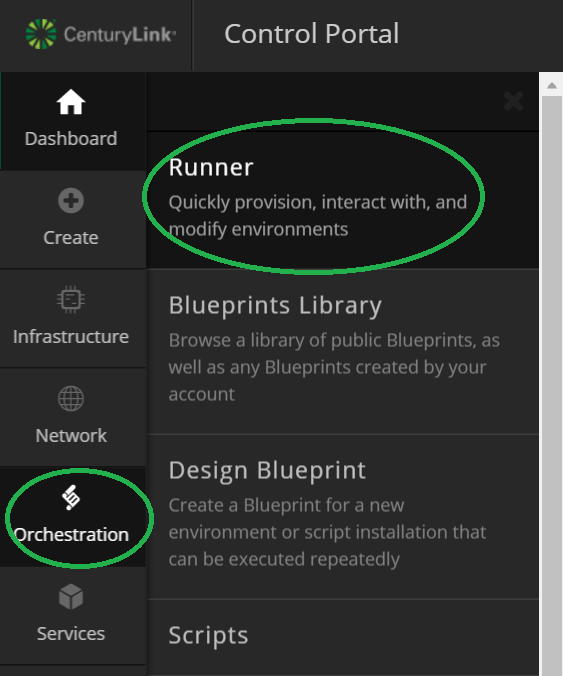
After created your account with ctl.io, and login. You will be in the control panel (https://control.ctl.io/), and you can setup NEM NIS right away. Select “Orchesstration” on left menu, then select Runner as shown in the screen capture below.
After you can see a lot of runner job available, scroll down until you see NEM and its logo a shown below. If you are setting up a new server, select the one on the left, but if you already have a node running in ctl.io, then you can select the middle one to install NIS/NCC and serpent into your existing running VPS.
Assuming you are setting up a new VPS with Supernode, we click on the one on left as shown above. (Please note that the layout and the order might be changed, if more other runner jobs are to be introduced later.)
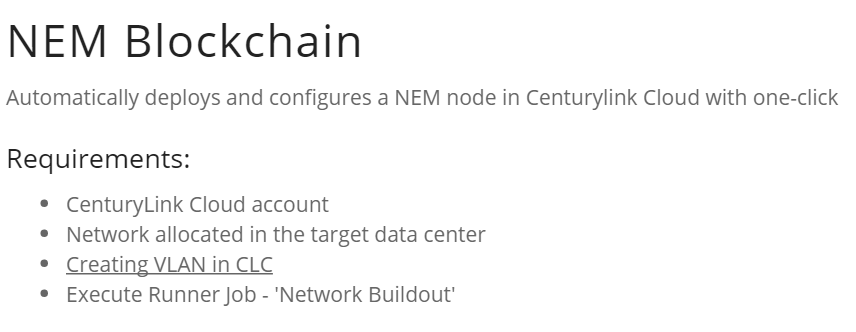
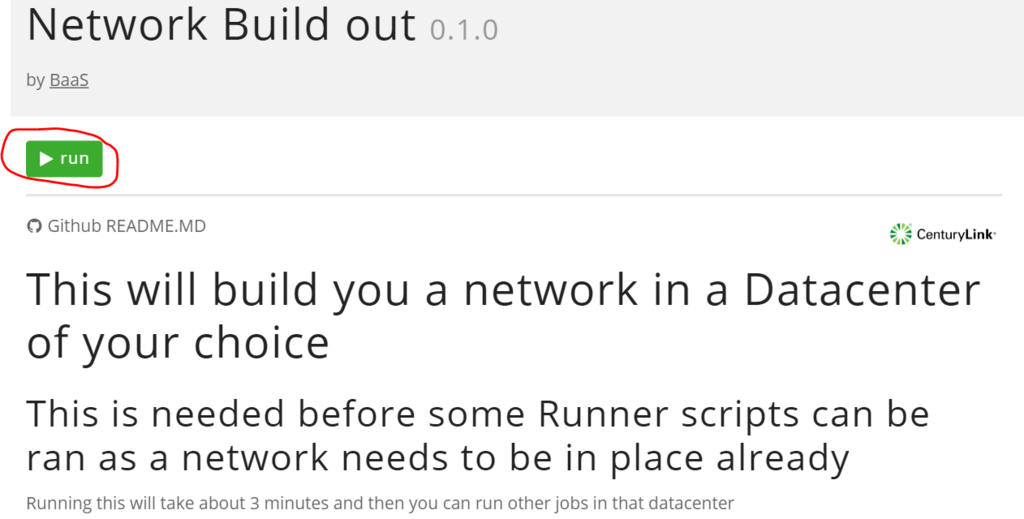
After we click to deploy a new VPS with NEM node, we can see the requirements as listed above. Since we have not created the VLAN by running the runner job “Network Build out”, we shall go back to runner menu, and run this.
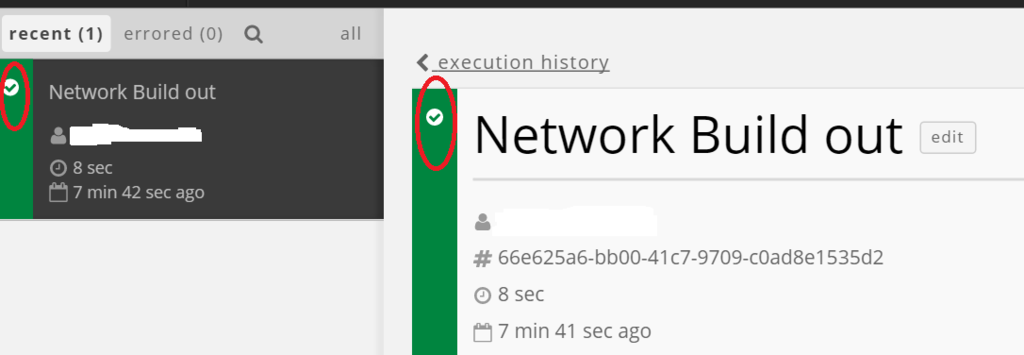
Click run, and select your location. Wait until you see the runner job has finished, passing mark with green as shown below.
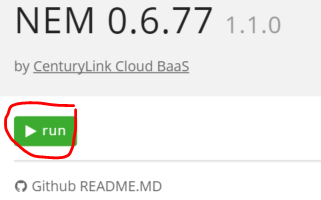
If you go to control panel, and click networks, you should see that you have a VLAN assigned to you in the location you have selected. Now we can go back to the NEM node runner, and click run as shown below.
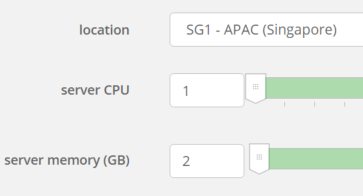
Select 1 core, and 2GB RAM as recommended in the location you intended to run your VPS, then click run.
Please be patient and wait till it shows green, it took about 30 minutes for me to finish. It might take less time for you.
###Configure your NEM node
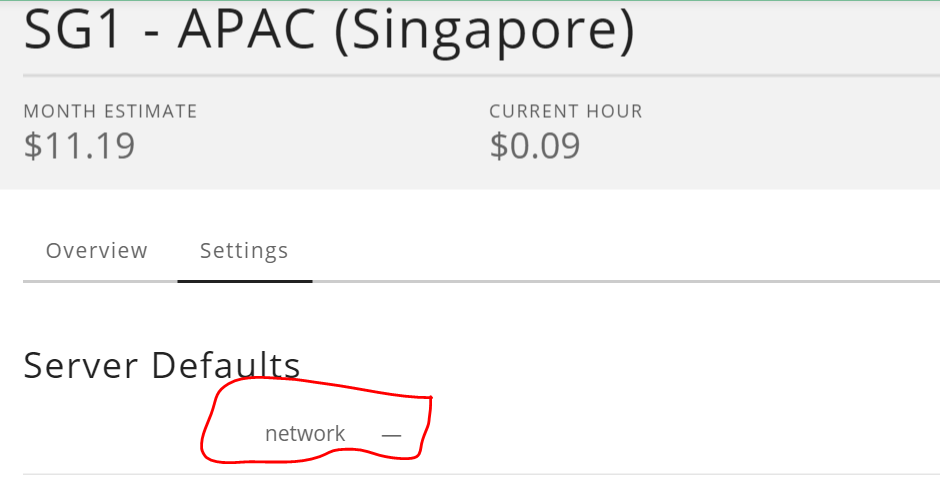
After this, you should see your VPS as shown below, when you check in your ctl.io control panel. Please proceed to click on red circle as shown in below image.
For my case, I see the network is -, we should assign the VLAN we created earlier with network build out runner to the vps. It should be automated by now.
From the picture below, under the datacenter you deploy your VPS, for my case is Singapore, expand BAAS, and click on your VPS name. By default only a private address is available for your node, as shown in picture below (start with 10.x.x.x) You need to add a public ip address, by clicking “add public ip” button.
Note: ctl_bass (in NEM slack), has mentioned that public ip has been added to the NEM node runner. So this step is not needed now.
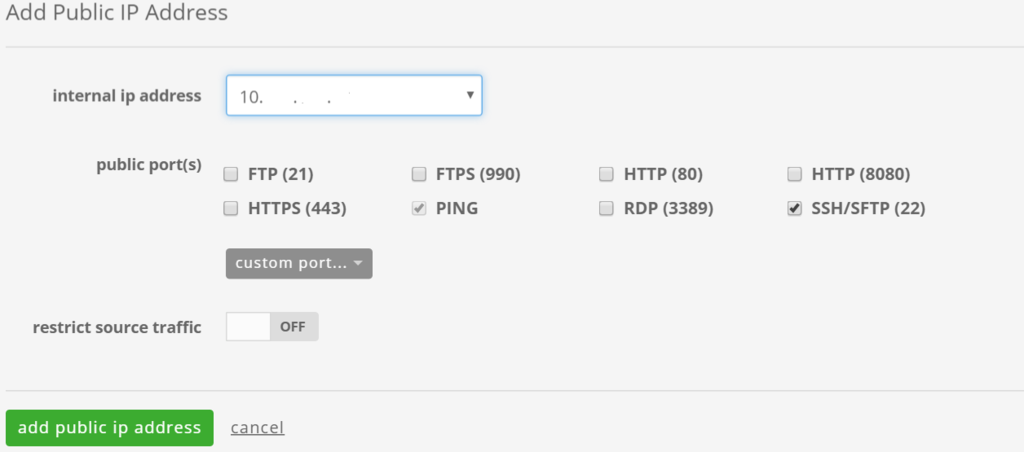
After this is done, you should have a public ip address assigned to your VPS, click on the public ip address, you should see what as shown in below. I added port 7890, 7778, 7880 to allow communication to my VPS that are need to be open for a NEM supernode. You should also check SSH/SFTP (22) so that you can ssh connect to your VPS.
Note: ctls_bass (in NEM slack), has included these steps in the NEM node runner, hence these steps are not needed now. It should be automated.
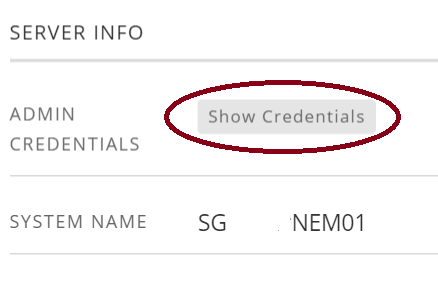
By now, your NEM supernode is ready. You can try SSH connect to your node. Of course you have to know your password. From the picture shown below, under the server info, please click “Show Credentials” beside Admin Credentials. You can ssh to your VPS(NEM supernode) with userid root and this password, or with Putty SSH if you are using Windows system.
Enjoy your NEM supernode daily rewards after this.
###Steps to check once you SSH login to your NEM supernode
Type
$screen -ls
You should see NIS and Servant is running. If not please run them with the command below.
$service start nis
$service start servant
Similarly, you can stop them by replacing the word start with stop.
Please note that under root home folder, there is a nem folder that consists of log files only.
The other NEM files, likes configuration files and etc. are in /opt/NEM
###Basic Hardening Steps
You can choose not to perform these steps. It is absolutely fine, as your NEM supernode will run smoothly. But it is recommended that you performed below steps to secure your VPS at a basic level.
Exposing your root login with public port 22 for your VPS is not a good security practice. Generally we would disable root login, disable password login and use ssh key pair login, and changing ssh port to other number(the runner require ssh to be on port 22).
In ctl.io, we will have another nice option, that is utilizing their VPN feature.
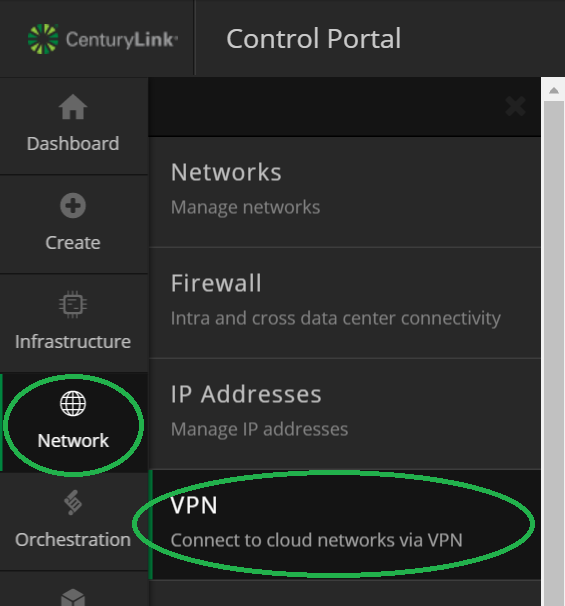
From the control panel, mouse hover to “Network” then “VPN” as shown in the screen capture below
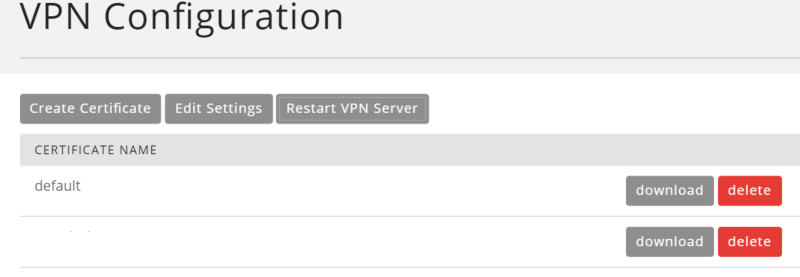
You can use the default certificate, or create a new one by clicking on the “Create Certificate” button. After this we proceed to download the config file and certificate files required for the connection through openVPN. Just copy all the downloaded files to the config folder of openVPN. The config file can also be used if you are using Linux openVPN.
Please refer to the link below for more information about VPN setting in ctl.io
How to configure VPN client in ctl.io
So after you run the openVPN, and get connected, you can SSH connect to your NEM supernode with the private ip. You can proceed to disable the public port 22 for your node.
CREDITS: Thanks to ctl_bass in NEM Slack for helping me to setup and troubleshoot while deploying NEM supernode with ctl.io

