
read
Using the test net is pretty easy. Here's how to get started:
1) Download the latest regular stand-alone version from here (nis-ncc-0.X.XX.zip). 2) The file will be zipped so you will need to unzip it to your desktop, or preferred location. 3) You should see a folder called nis-ncc-0.X.XX and inside of that folder is a folder called package.
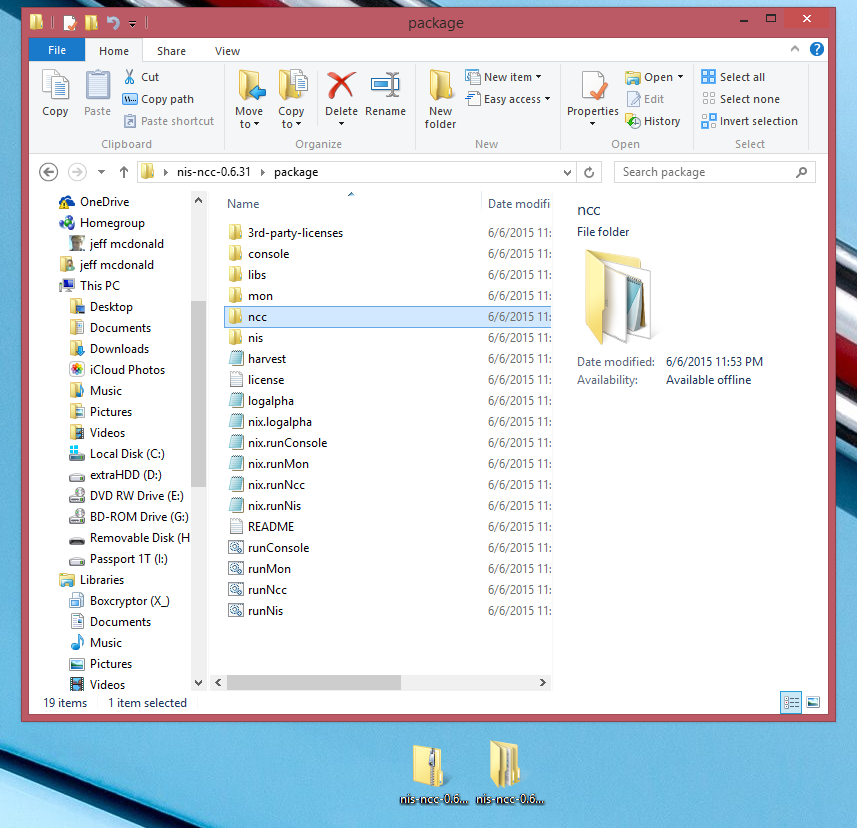
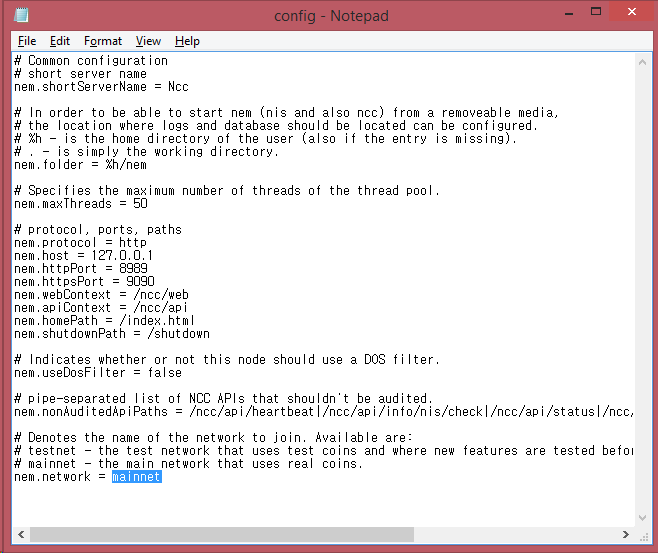
4) Open the package folder, and open the ncc folder, and then open the file called config.properties in notepad or other editing program. 5) Once this file is open, you can see a line that says nem.network = mainnet. You should change that to nem.network = testnet and click save.
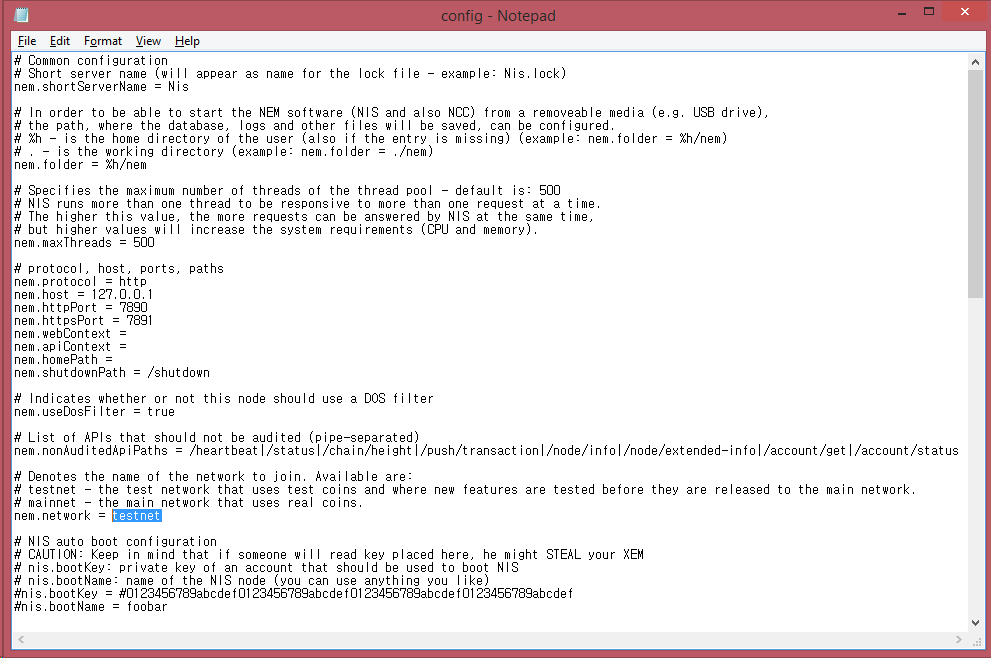
6) Again, open folder called package, and now open the nis folder, and then open the file called config.properties in notepad or other editing program. 7) Once again, in this file, you can see a line that says nem.network = mainnet. You should change that to nem.network = testnet and click save.

8) That’s it! You can now start up your testnet. Once it is started, you will need to create a new wallet. The best way to know that you have successfully booted the testnet is that the account number will start with a “T” (for testnet) instead of an “N” (for mainnet).


Please make a request for test XEM on the NEM forum.
You can view your test net transactions on the NEM testnet block explorer testnet block explorer.
This is a companion discussion topic for the original entry at http://blog.nem.io/setting-up-the-testnet/