
read
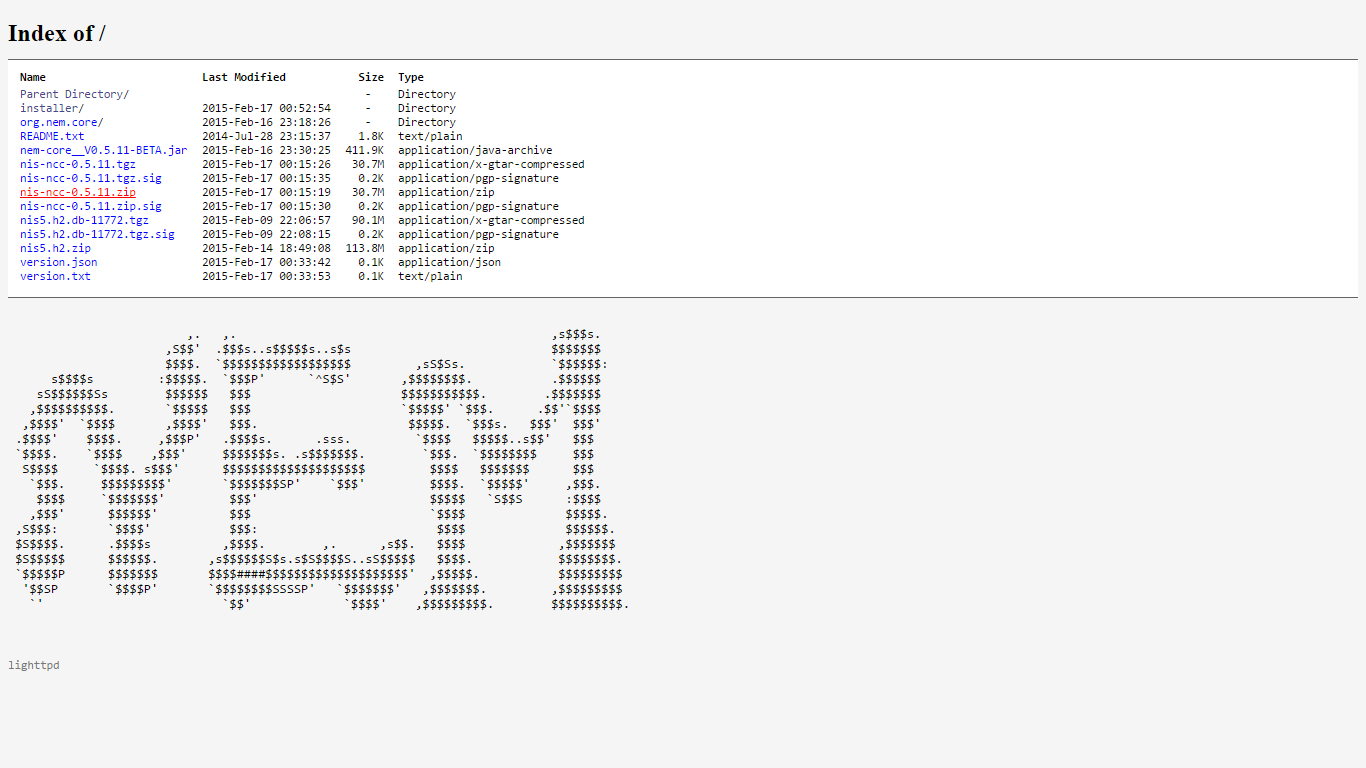
1. Download filesVisit bob.nem.ninja and download the latest version of "nis-ncc-X.Y.Z.zip" (X.Y.Z represents the version number).
Extract the files in the zip archive to a folder of your choice (e. g. C:\NEM-Software).
3. Start the softwareJust double click "runMon.bat" (Windows might only display "runMon") inside the package folder. That's it!
If you want to start NIS and NCC separately, you can do this by double clicking "runNis.bat" and "runNcc.bat" and then open your browser and visit http://localhost:8989.
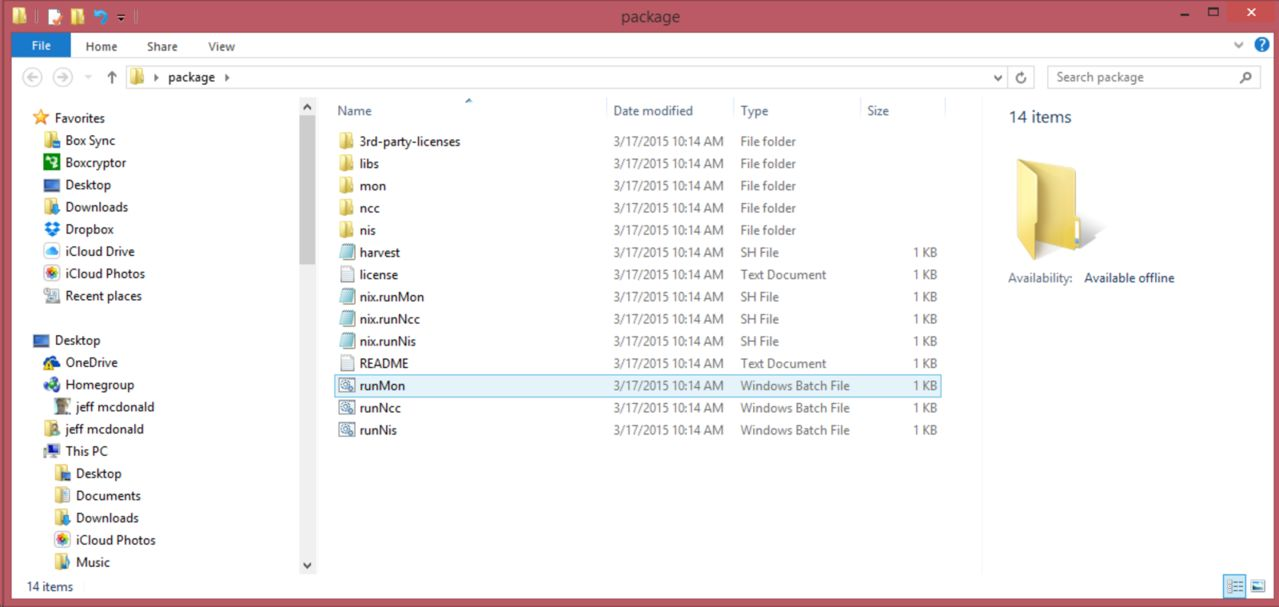
Of course you can also create a shortcut for these files and place it on your desktop or wherever you like.
This is what the NEM wallet looks like:
Advanced Custom Settings (optional)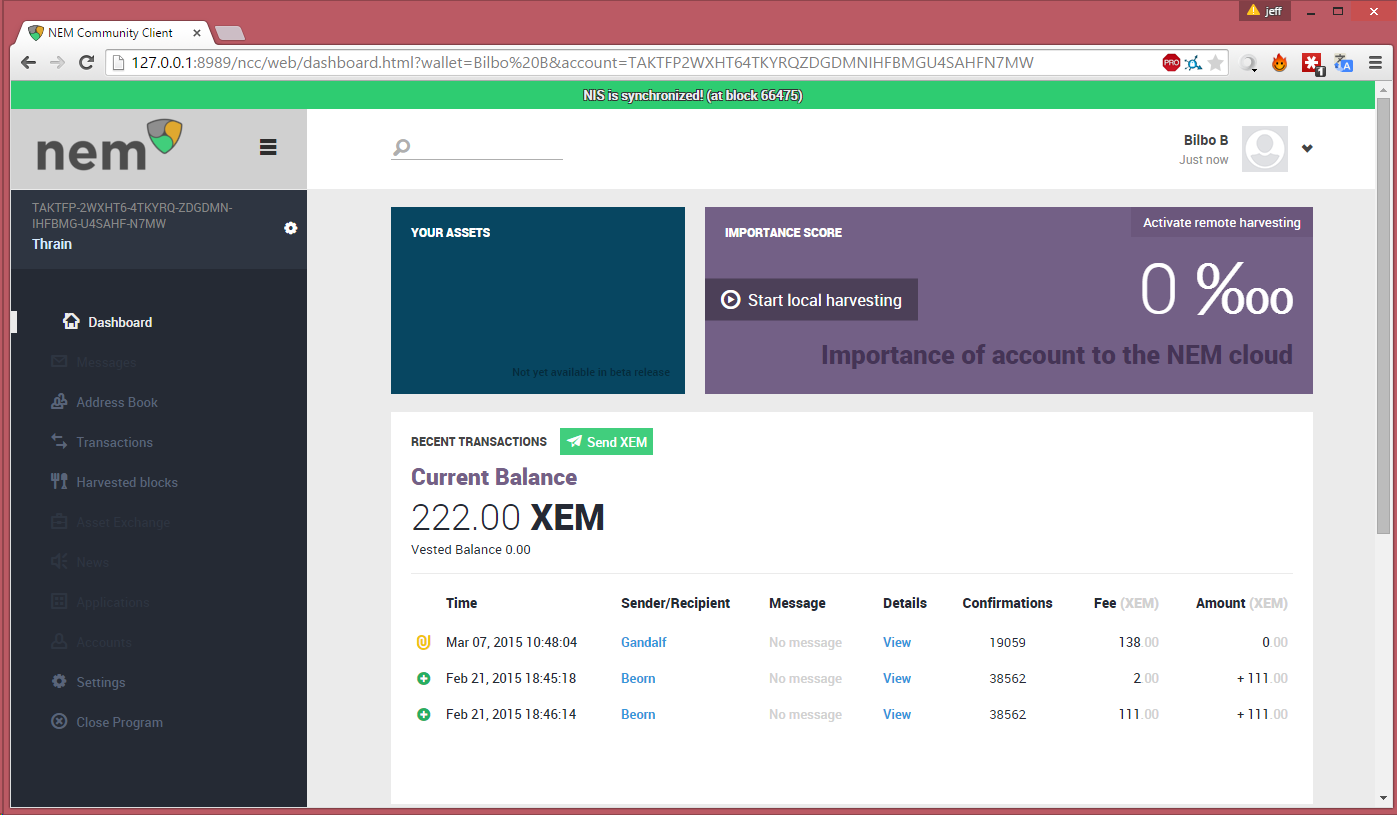
If you like you can edit the "config.properties" files (inside the nis and ncc folders) with a text editor according to your needs.
Hint: By default NIS takes approx. 1 GB of RAM. If you would like to change this value, you have to edit the "runNis.bat" file with a text editor and adjust the Xmx value. Here is an example for changing it to 786 MB:
runNis.bat:
pushd nis
java -Xms512M -Xmx786M -cp ".;./*;../libs/*" org.nem.core.deploy.CommonStarter
popd
It is recommended to set the Xmx value not below 786 MB, otherwise you will experience slow performance.
Downloading the Blockchain from bob.nem.ninja (optional)If you don't want to wait until your NEM software is full synchronized from scratch, you can use the blockchain provided by the developers. To find out how to do this, follow the steps of this guide.
This is a companion discussion topic for the original entry at http://blog.nem.io/windows-installation-guide-standalone/