If you’ve read the first episode, you should be able to compile nem.core, now it’s time for something bit more interesting. We’re gonna install idea, and create a very primitive project in it.
IntelliJ IDEA
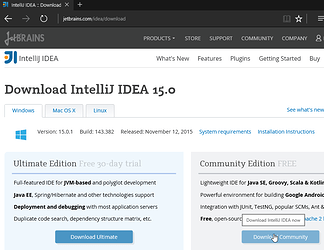
Download and install idea. Installation is straightforward, next, next, next.
On first start idea will ask few questions, but you can quickly skip over them. I personally prefer dark theme, so screenshots will use dark theme.
Creating a project
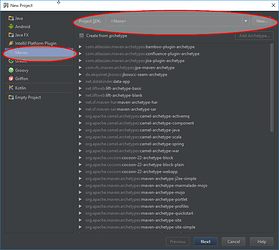
We’re gonna create a “New Project”, and to make things easier, and since we’ve used maven in previous episode, it’s gonna be a maven project to make things easier and quicker.
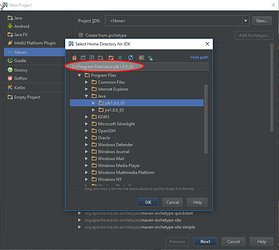
Initially the list of SDKs will be empty, so we’ll need to add new SDK. Select directory, where you’ve installed the JDK.
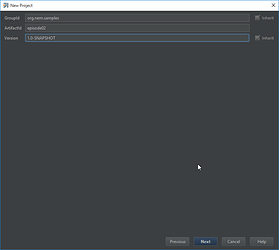
We’ll need to set a few more things, we’ll give our project a “group id” org.nem.samples, and the “artifact id” episode02.
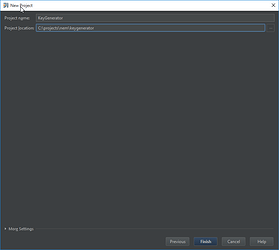
We’ll name it KeyGenerator and place it in the projects dir from the previous episode.
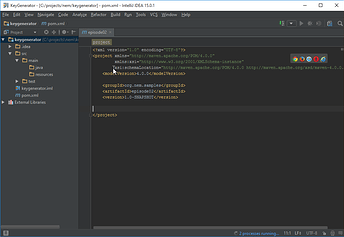
This is more or less how the idea should look like after finishing
Coding
First thing we’re gonna do is adding nem.core dependency in pom.xml. Since the version we were compiling
in a previous episode was 0.6.43-BETA, we need to specify that version.
    <dependencies>
        <dependency>
            <groupId>org.nem.core</groupId>
            <artifactId>nem-core</artifactId>
            <version>0.6.43-BETA</version>
        </dependency>
    </dependencies>
If IDEA will ask about MAVEN changes, select “Import”.
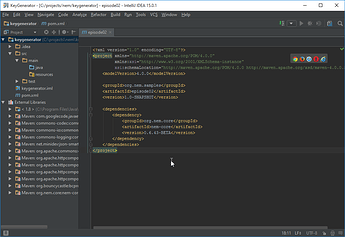
It should download and set up dependencies, so if you unwind “External Libraries”, it should look as follows.
Now, inside src/main/java, lets create a new java class, we’ll name it KeyGenerator.
(Normally we should create it in some sensible namespace, but since we’re just playing around this will suffice).
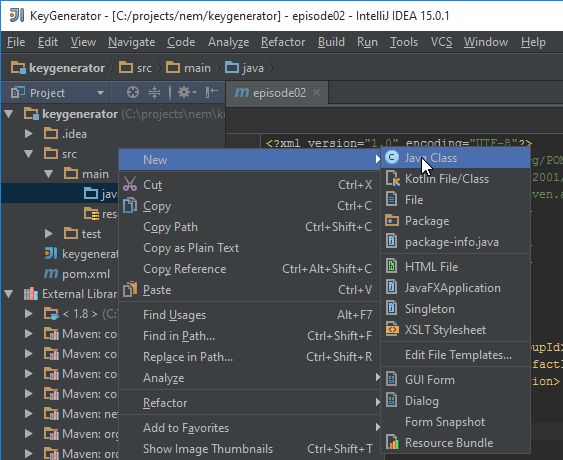
Put the following content inside the newly created file:
public class KeyGenerator {
    public static void main(String[] args) {
        System.out.println("Hello nem");
    }
}
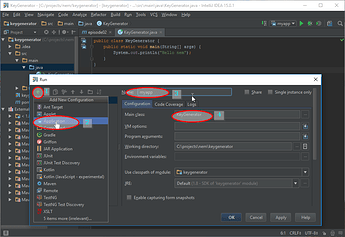
From the menubar, select Run -> Run, we’ll need to add new “run configuration”, it’s gonna be application, and the class containing our main() method is KeyGenerator, the following picture should be helpful.
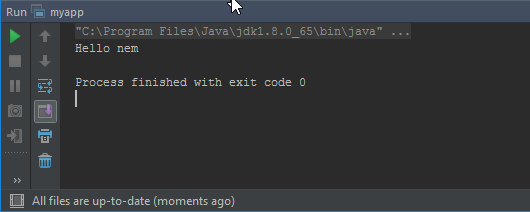
After running, at the bottom a small output window should popup, with not a very surprising content.
Key generation
Now it’s time to actually use nem.core.*
First, let’s take a look at the documentation of KeyPair
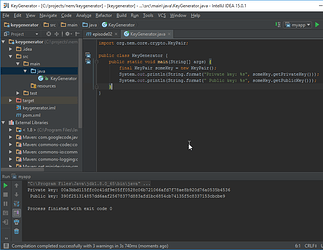
As stated, we can use the constructor without any arguments, to generate a new random key, this leads us to a slightly modified example:
import org.nem.core.crypto.KeyPair;

public class KeyGenerator {
    public static void main(String[] args) {
        final KeyPair someKey = new KeyPair();
        System.out.println(String.format("Private key: %s", someKey.getPrivateKey()));
        System.out.println(String.format(" Public key: %s", someKey.getPublicKey()));
    }
}
It would be convenient to have an address too. Let’s take a look at the documentation for Address
There is a constructor, but it’s protected, instead there are static factory methods starting with from*.
We’re gonna use the version where we can pass both network version, and a public key.
Now the question is, where do we get the version byte from. We could hard-code it, but that would be ugly, so instead we’re gonna use NetworkInfos
It’s got methods to get NetworkInfo for both testnet and mainnet, and from there we can get the network byte. Hence our next version.
import org.nem.core.crypto.KeyPair;
import org.nem.core.model.Address;
import org.nem.core.model.NetworkInfos;

public class KeyGenerator {
    public static void main(String[] args) {
        final KeyPair someKey = new KeyPair();
        System.out.println(String.format("Private key: %s", someKey.getPrivateKey()));
        System.out.println(String.format(" Public key: %s", someKey.getPublicKey()));

        final Address anAddress = Address.fromPublicKey(
                NetworkInfos.getTestNetworkInfo().getVersion(),
                someKey.getPublicKey());
        System.out.println(String.format("    Address: %s", anAddress));
    }
}
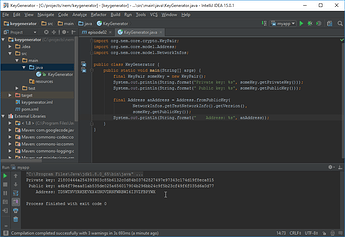
And after running it…
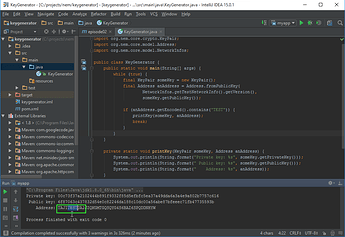
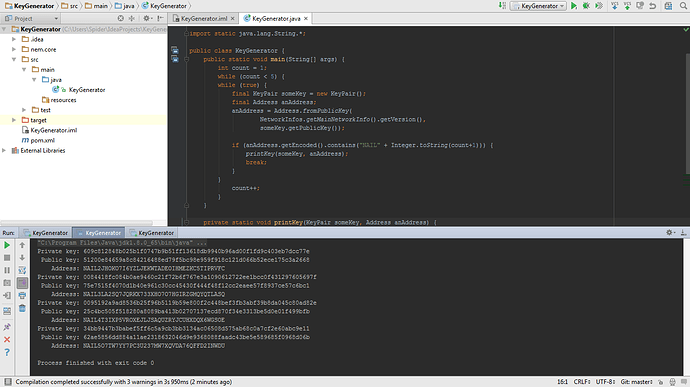
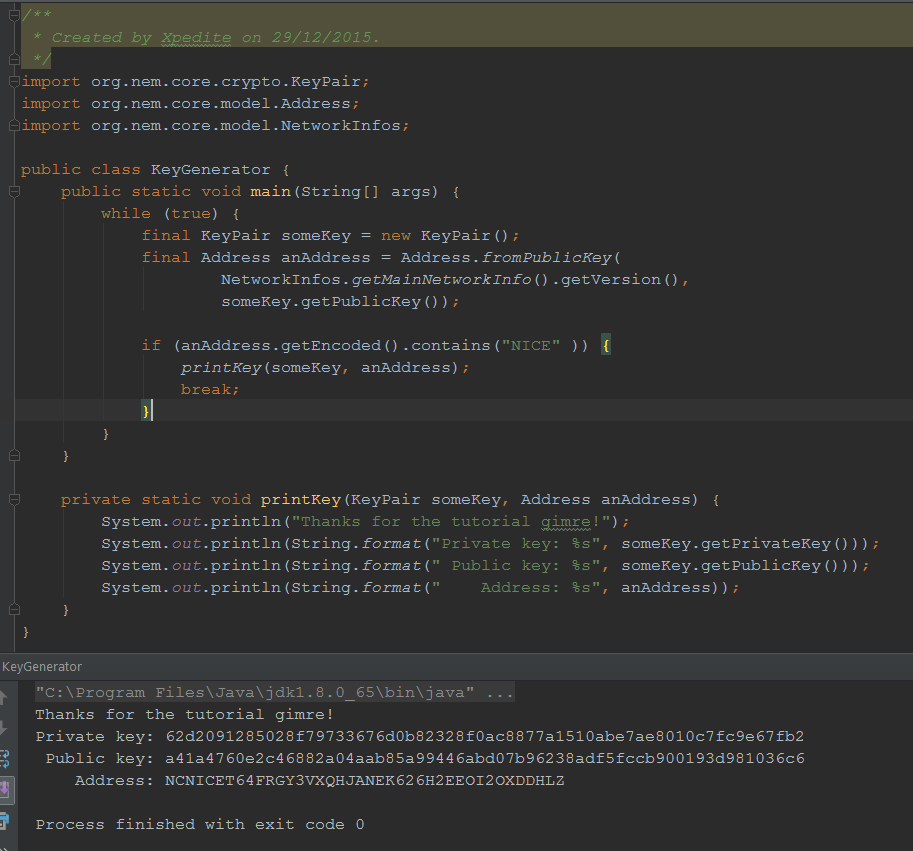
Now that’s bit boring and would be troublesome, so last thing we’re gonna do in this episode is adding a simple loop, that will find some interesting address.
import org.nem.core.crypto.KeyPair;
import org.nem.core.model.Address;
import org.nem.core.model.NetworkInfos;

public class KeyGenerator {
    public static void main(String[] args) {
        while (true) {
            final KeyPair someKey = new KeyPair();
            final Address anAddress = Address.fromPublicKey(
                    NetworkInfos.getTestNetworkInfo().getVersion(),
                    someKey.getPublicKey());

            if (anAddress.getEncoded().contains("TEST")) {
                printKey(someKey, anAddress);
                break;
            }
        }
    }

    private static void printKey(KeyPair someKey, Address anAddress) {
        System.out.println(String.format("Private key: %s", someKey.getPrivateKey()));
        System.out.println(String.format(" Public key: %s", someKey.getPublicKey()));
        System.out.println(String.format("    Address: %s", anAddress));
    }
}
Hope you’ve enjoyed this episode, and have fun experimenting.

